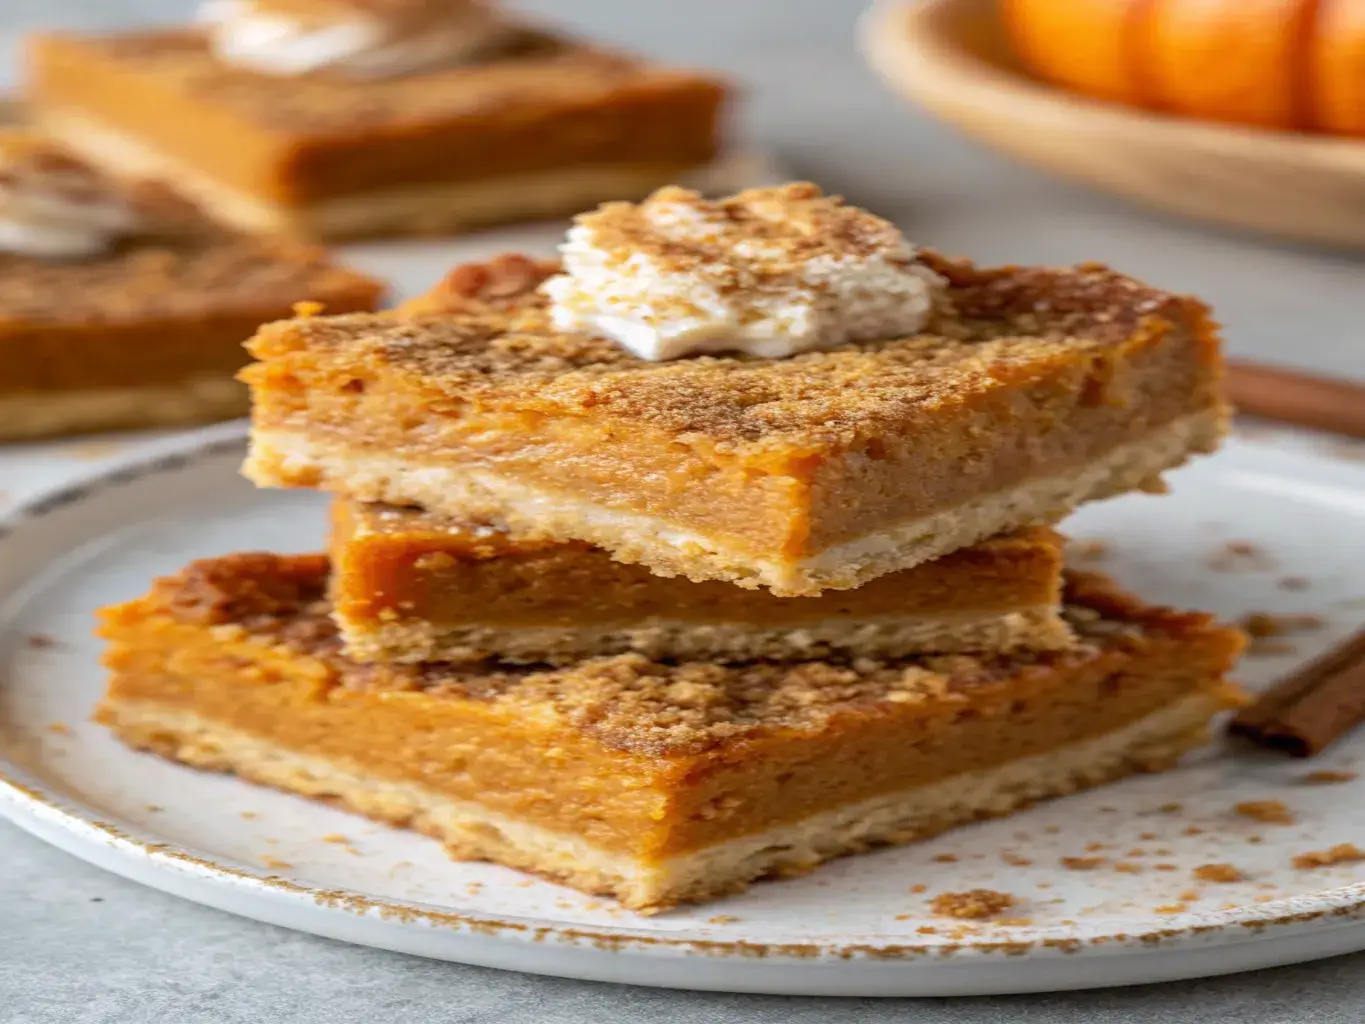
Imagine all the cozy, spiced flavor of your favorite pumpkin pie, but without the fuss of a rolling pin or a fragile crust. That’s the magic of these Gluten-Free Pumpkin Pie Bars. As someone who lives for pumpkin spice season but has little patience for complicated baking, this recipe is my ultimate secret weapon.
It gives you that classic, creamy pumpkin filling nestled on top of a simple, press-in shortbread crust. Best of all, these bars are incredibly easy to make, naturally gluten-free, and guaranteed to make your entire kitchen smell like a autumn dream.
WHY YOU’LL LOVE THIS GLUTEN-FREE PUMPKIN PIE BARS RECIPE
You will absolutely adore this recipe because it is effortlessly simple.
- Firstly, you only need one bowl for the filling, and the crust comes together in minutes right in the pan.
- Secondly, these bars are perfect for making ahead, which makes them a superstar for holiday gatherings or a simple weeknight treat.
- Most importantly, they are wonderfully forgiving.
- No one will ever guess they are gluten-free, and they deliver that same nostalgic, comforting flavor we all crave this time of year.
Gluten-Free Pumpkin Pie Bars Recipe
- Total Time: 1 hour
- Yield: 12 bars 1x
Description
Deliciously spiced gluten-free pumpkin pie bars with a buttery crust and creamy pumpkin filling perfect for fall gatherings or an easy holiday dessert.
Ingredients
- **For the crust:**
- 1 1/2 cups gluten-free all-purpose flour blend (with xanthan gum)
- 1/3 cup brown sugar
- 1/2 teaspoon salt
- 1/2 cup (1 stick) cold unsalted butter, cubed
- 1 tablespoon cold water (as needed)
- **For the pumpkin filling:**
- 1 (15-ounce) can pumpkin purée
- 3/4 cup brown sugar
- 2 large eggs
- 1/2 cup evaporated milk (or coconut milk for dairy-free)
- 1 teaspoon vanilla extract
- 1 1/2 teaspoons pumpkin pie spice
- 1/2 teaspoon cinnamon
- 1/4 teaspoon salt
Instructions
- 1. Preheat the oven to 350°F (175°C). Line an 8×8-inch baking pan with parchment paper.
- 2. In a medium bowl, combine the gluten-free flour, brown sugar, and salt.
- 3. Cut in the cold butter using a pastry cutter or fork until the mixture resembles coarse crumbs.
- 4. Press the crust mixture evenly into the prepared pan.
- 5. Bake for 10–12 minutes until lightly golden; set aside to cool slightly.
- 6. In a separate bowl, whisk together pumpkin purée, brown sugar, eggs, evaporated milk, vanilla, pumpkin pie spice, cinnamon, and salt until smooth.
- 7. Pour the pumpkin filling over the baked crust and spread evenly.
- 8. Bake for 35–40 minutes, or until the center is set and a toothpick inserted comes out clean.
- 9. Allow the bars to cool completely before slicing.
- 10. Refrigerate for at least 2 hours before serving for best texture.
Notes
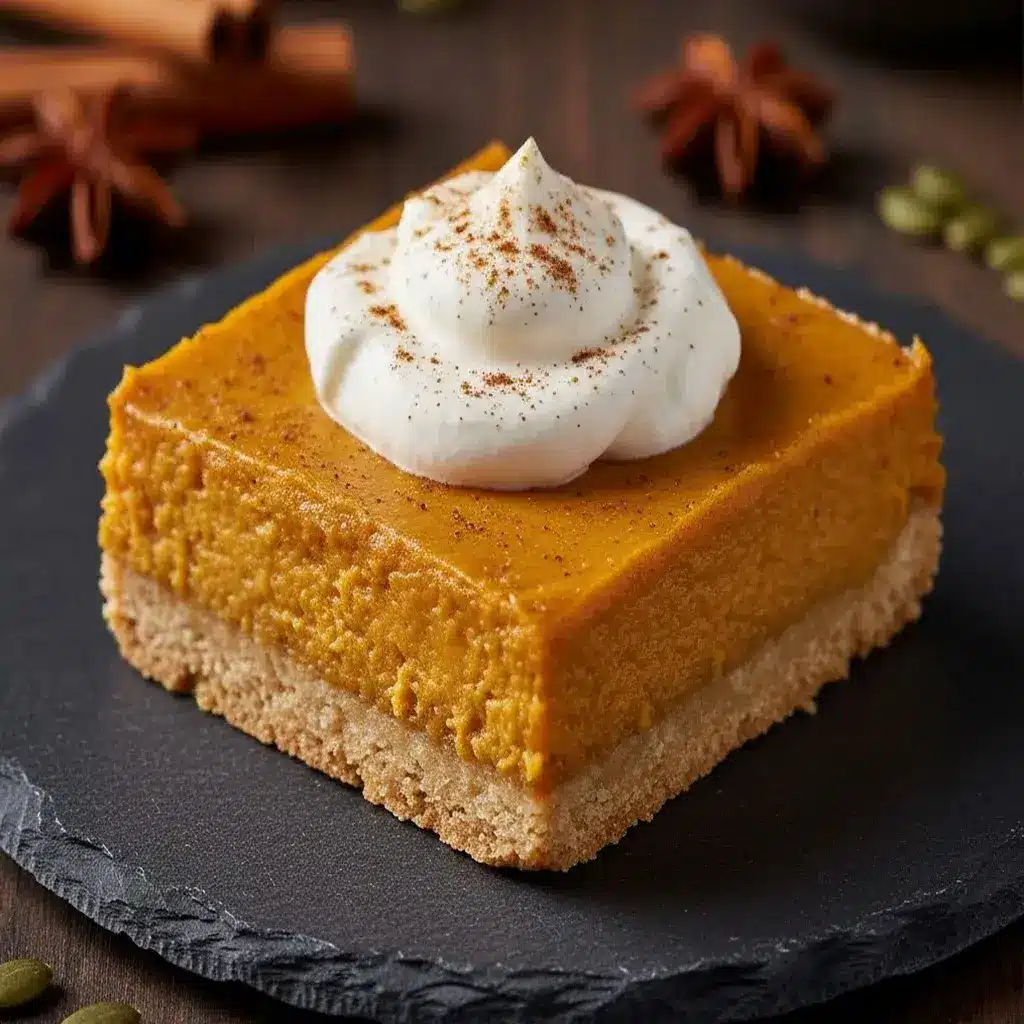
- Top with whipped cream or a sprinkle of cinnamon for extra flavor.
- These bars store well in the refrigerator for up to 5 days.
- To make dairy-free, substitute the butter with coconut oil and evaporated milk with full-fat coconut milk.
- Prep Time: 15 minutes
- Cook Time: 45 minutes
- Category: Dessert
- Method: Oven
- Cuisine: American
Nutrition
- Serving Size: 1 bar
- Calories: 180
- Sugar: 12g
- Sodium: 110mg
- Fat: 8g
- Saturated Fat: 4g
- Unsaturated Fat: 3g
- Trans Fat: 0g
- Carbohydrates: 24g
- Fiber: 2g
- Protein: 3g
- Cholesterol: 45mg
Keywords: gluten-free, pumpkin, fall dessert, pie bars, Thanksgiving
HOW TO MAKE GLUTEN-FREE PUMPKIN PIE BARS
The process for these bars is wonderfully straightforward. Essentially, we create a quick shortbread crust, par-bake it to ensure it stays crisp, and then pour a simple pumpkin filling over the top. The oven does the rest of the work, transforming these simple ingredients into a decadent dessert.
Ingredients:
For the Crust:
- 1 ½ cups (185g) gluten-free all-purpose flour blend
- ⅓ cup (65g) granulated sugar
- ½ cup (1 stick / 113g) unsalted butter, melted
- 1 teaspoon vanilla extract
For the Pumpkin Filling:
- 1 (15 oz) can pure pumpkin puree
- 2 large eggs
- ¾!– /wp:list-item –>
- 1 tablespoon pumpkin pie spice
- ½ teaspoon salt
- 1 (12 oz) can evaporated milk
Directions:
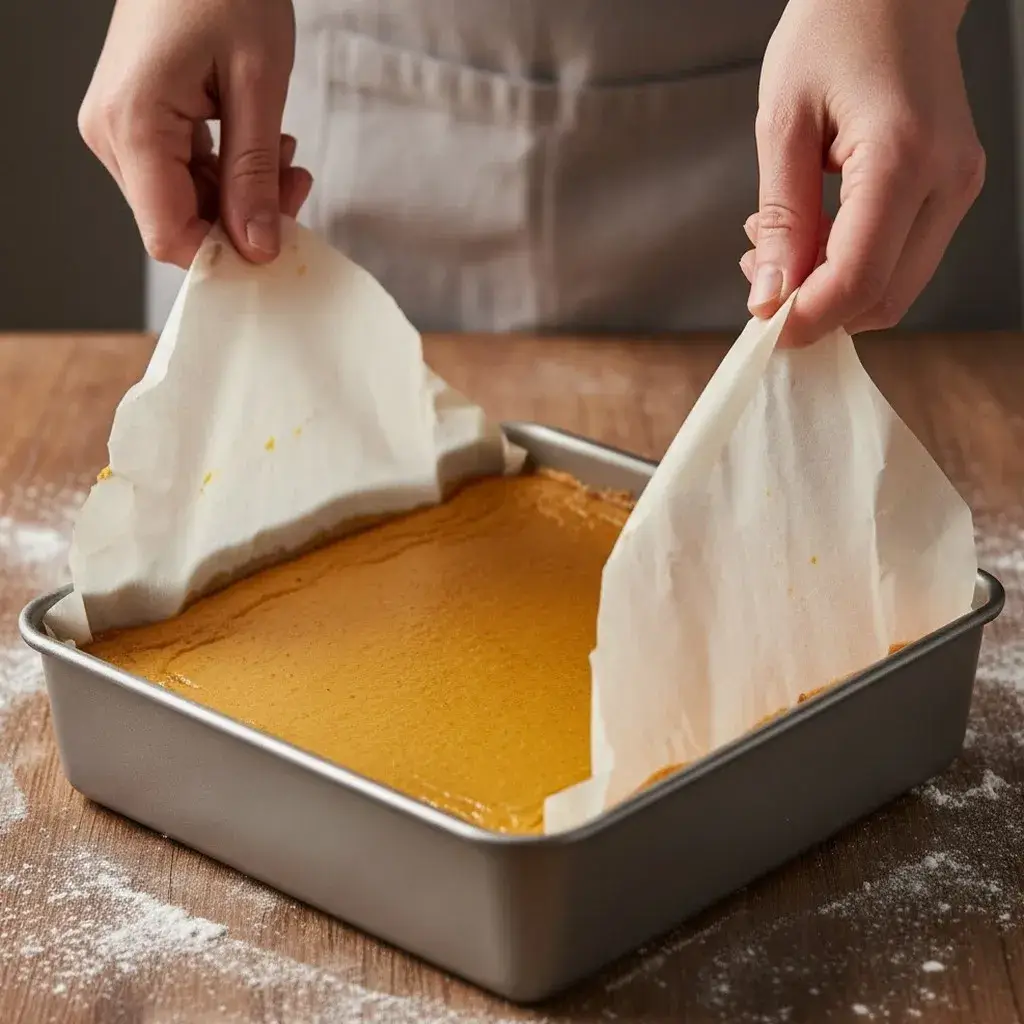
Prepare for Baking: Firstly, preheat your oven to 350°F (175°C). Then, line an 8×8 inch baking pan with parchment paper, allowing some overhang on two sides for easy removal.
Make the Crust: In the prepared pan itself, combine the gluten-free flour and granulated sugar. Next, pour in the melted butter and vanilla extract. Stir with a fork until the mixture is fully moistened and crumbly.
Press the Crust: Using your fingers or the flat bottom of a measuring cup, press the crust mixture firmly and evenly into the bottom of the pan.
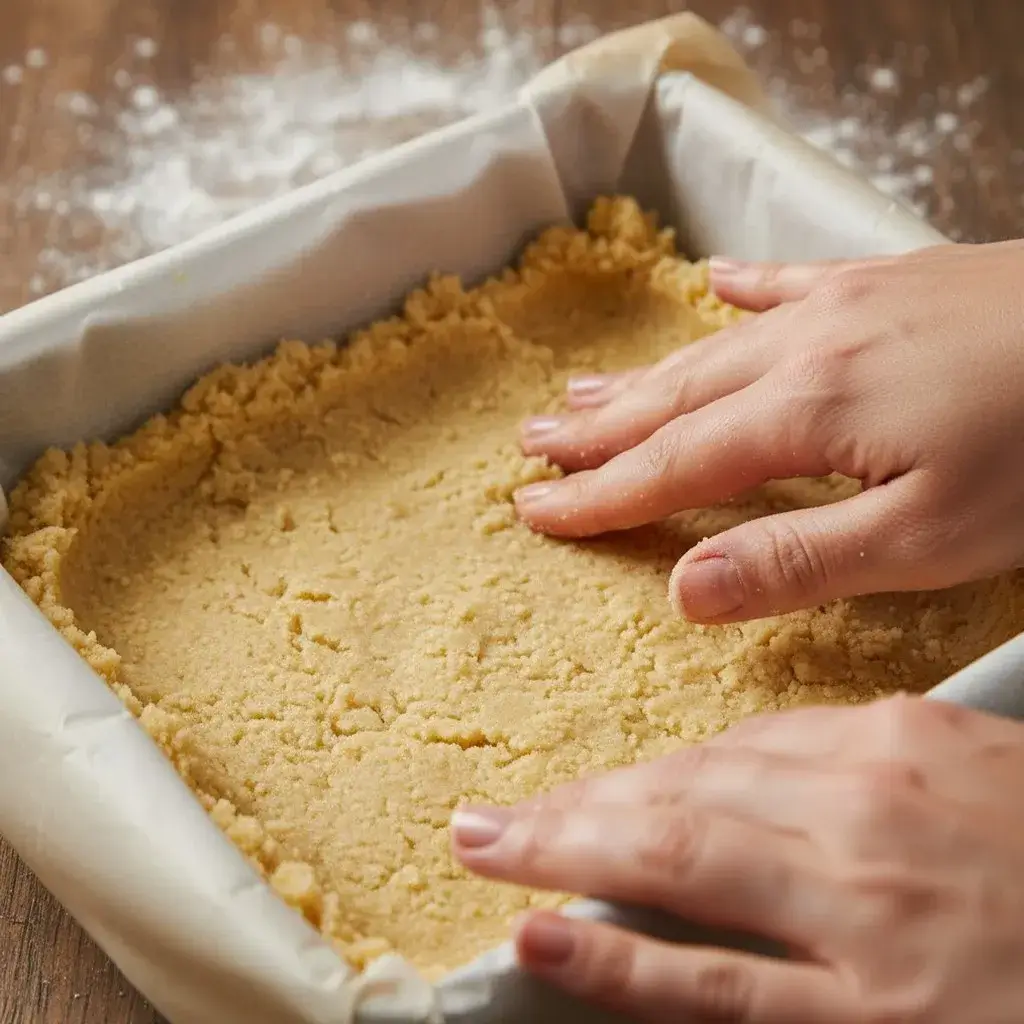
Par-Bake: Place the pan in the preheated oven and bake for 15 minutes. Meanwhile, you can prepare the filling.
Whisk the Filling: In a large mixing bowl, whisk the eggs together. Then, add the brown sugar, pumpkin pie spice, and salt, and whisk until smooth.
Add Pumpkin and Milk: Now, stir in the pure pumpkin puree until everything is well combined. Finally, gradually whisk in the evaporated milk until the filling is smooth and silky.
Combine and Bake: Carefully pour the pumpkin filling over the hot, par-baked crust. Immediately return the pan to the oven.
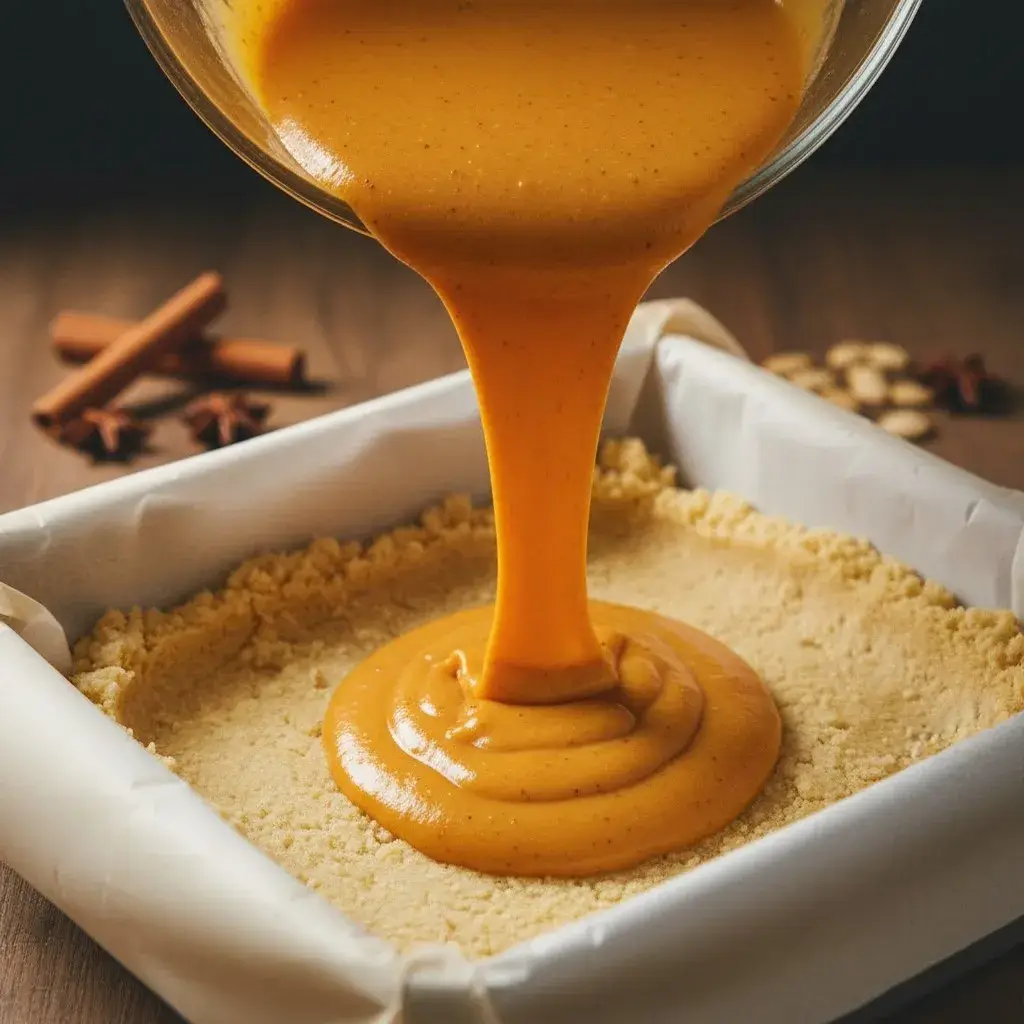
Bake to Perfection: Bake for 45-55 minutes, or until the edges are set and the center only has a slight jiggle when you gently shake the pan.
Cool Completely: Remove the pan from the oven and place it on a wire rack to cool completely. Afterwards, you must refrigerate the bars for at least 4 hours, or preferably overnight, to allow them to set fully before slicing.
IS A NUTRITION HERO
Surprisingly, this dessert can be a source of good nutrition. The star ingredient, pumpkin, is packed with Vitamin A, which is essential for healthy vision and immunity. Additionally, using a gluten-free flour blend makes this treat accessible and digestible for those with sensitivities, allowing everyone to enjoy a classic dessert without discomfort.
GREAT FOR WEIGHT MANAGEMENT
When you are mindful of portions, these Gluten-Free Pumpkin Pie Bars can fit into a balanced eating plan. Firstly, you control the ingredients, avoiding unnecessary additives. Secondly, by slicing them into smaller, portion-controlled bars, you can satisfy your sweet tooth without overindulging. The fiber from the pumpkin also helps you feel fuller for longer.
HOW TO CHOOSE AND STORE GLUTEN-FREE PUMPKIN PIE BARS
For the best results, always choose pure pumpkin puree, not pumpkin pie filling which has added sugars and spices. Store your completely cooled and set bars in an airtight container in the refrigerator for up to 5 days. For longer storage, you can freeze them for up to 3 months. Simply thaw them overnight in the fridge before serving.
EASY AND TASTY LOW-CAL GLUTEN-FREE PUMPKIN PIE BARS RECIPES
This base recipe is wonderfully versatile. For a lighter version, you can easily swap the evaporated milk for light coconut milk and use a sugar substitute. You could also reduce the brown sugar in the filling by a quarter cup for a less sweet, but equally spiced, bar.
SWEET GLUTEN-FREE PUMPKIN PIE BARS TREATS THE HEALTHY WAY
Indulging your sweet tooth can be part of a healthy lifestyle. By baking treats at home like these Gluten-Free Pumpkin Pie Bars, you use real, whole ingredients. Consequently, you avoid the processed fats and high-fructose corn syrup often found in store-bought desserts.
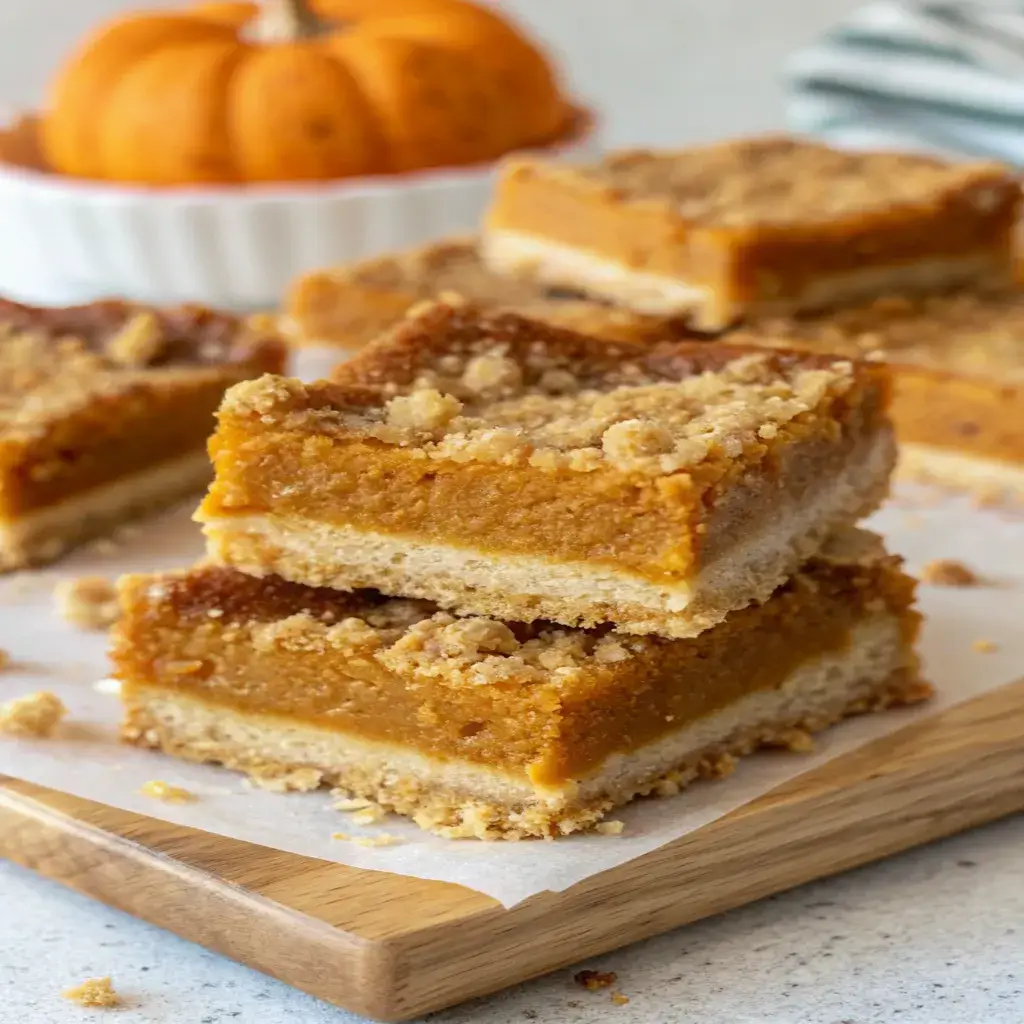
DON’T FORGET THE SEEDS!
For a delightful crunch and a boost of healthy fats, try sprinkling a handful of pepitas (pumpkin seeds) over the top of the bars before baking. They will toast in the oven, adding a wonderful texture and a beautiful garnish to your finished dessert.
HOW TO SERVE GLUTEN-FREE PUMPKIN PIE BARS
I love serving these bars cold straight from the fridge. For an extra special treat, top them with a generous dollop of whipped cream or a drizzle of salted caramel sauce. They are perfect for potlucks, Thanksgiving dinner, or simply as an after-school snack with a glass of cold milk.
HOW TO STORE GLUTEN-FREE PUMPKIN PIE BARS
As mentioned, these bars must be stored in the refrigerator due to the dairy-based filling. Keep them covered tightly with plastic wrap or in an airtight container. The cold storage also ensures they slice cleanly and maintain their perfect, creamy texture.
TIPS TO MAKE THE PERFECT BARS
Tips and Notes: Your Kitchen Companion
Details: The key to a clean slice is patience. You must allow the bars to chill thoroughly, ideally overnight. For the cleanest cuts, wipe your knife clean between each slice.
Variation: For a dairy-free version, use vegan butter in the crust and replace the evaporated milk with full-fat canned coconut milk. The result is just as rich and creamy.
Notes: Do not skip the step of par-baking the crust. This crucial step prevents a soggy bottom and ensures your crust is firm and cookie-like, providing the perfect textural contrast to the silky filling.
GLUTEN-FREE PUMPKIN PIE BARS FAQs
Can I use a different gluten-free flour?
Yes, you can. I recommend a 1:1 all-purpose gluten-free blend that contains xanthan gum for the best texture. Almond flour will not work as a direct substitute in this particular recipe.
Can I make these bars ahead of time?
Absolutely! In fact, I highly recommend it. These bars taste even better the next day after the flavors have had time to meld in the refrigerator. They are the perfect make-ahead dessert.
Why are my bars jiggly in the middle?
A slight jiggle in the center is perfectly normal when they first come out of the oven. The bars will continue to set up as they cool. As long of the edges are firm and the center only jiggles slightly, they are done. The long chilling time is what finalizes their firm, sliceable texture.
FINAL THOUGHTS LET’S MAKE THIS!
I promise you, this recipe for Gluten-Free Pumpkin Pie Bars will become a new seasonal tradition. It’s simple, delicious, and brings all the joy of pumpkin pie with a fraction of the stress. So, grab that can of pumpkin, and let’s make a treat that will have everyone asking for the recipe. Happy baking!

