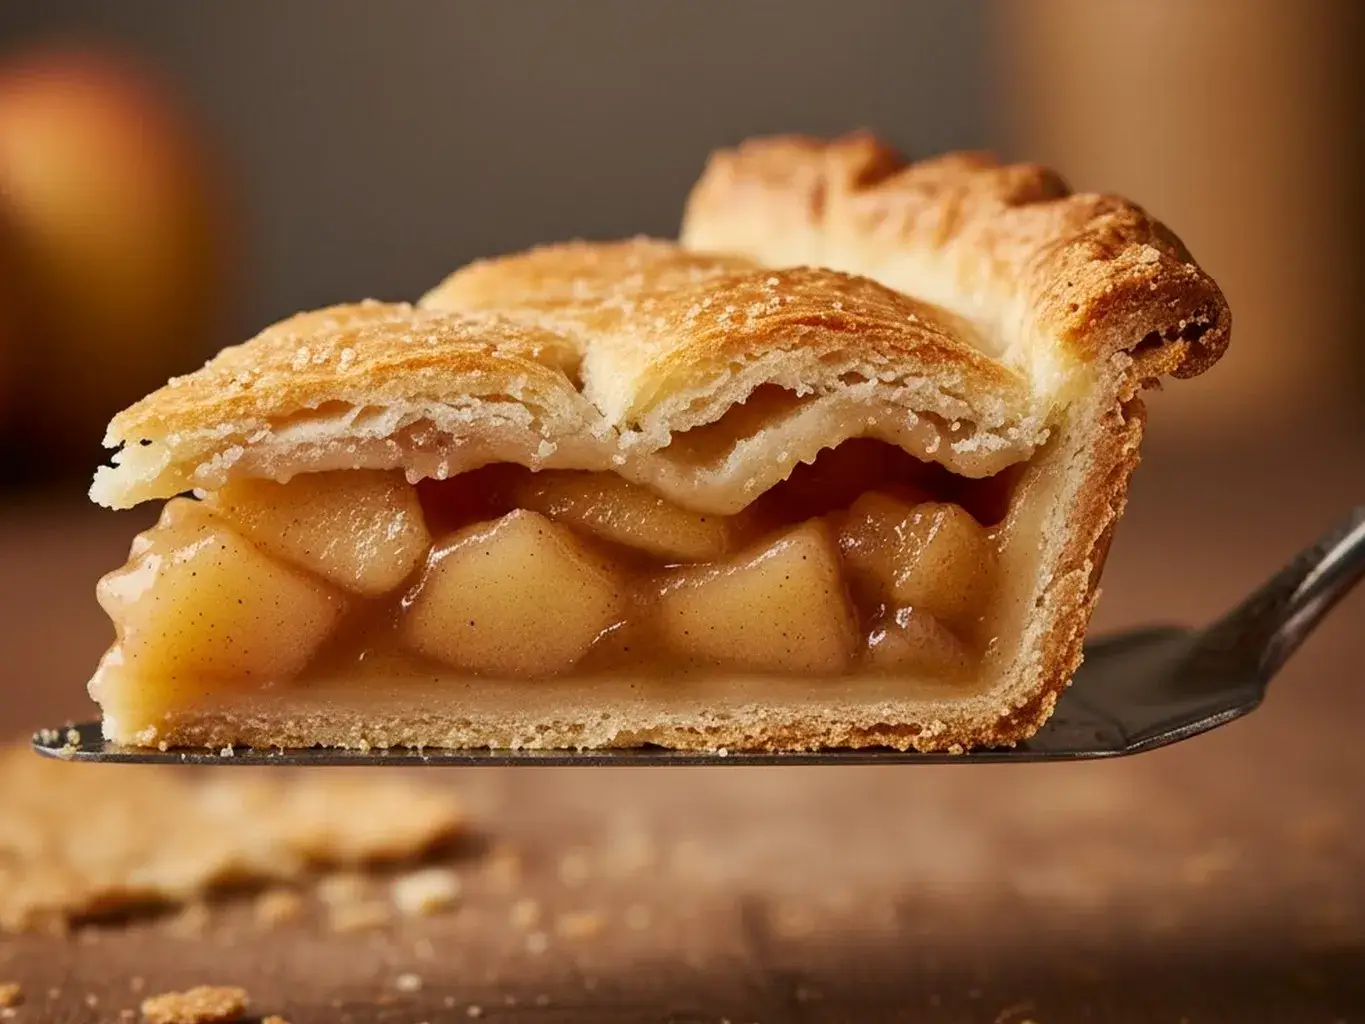
Flaky Pie Crust is the foundation of any great pie. I still remember my first homemade pie, the thrill when that crisp edge cracked under my fork. Today I share a recipe you can make with ease yet still get stunning layers.
You don’t need perfect tools, just care and a few smart tips. We’ll go through each step, and I’ll share secrets I learned from top bakers and recipe sites.
WHY MAKE THIS FLAKY PIE CRUST RECIPE
When you make your own crust, you control texture, ingredients, and flavor. Store-bought crust often tastes bland or soggy. A flaky crust elevates your filling fruit, custard, savory. This recipe works for double crust pies, quiches, galettes. You don’t need a machine. With minimal fuss, you get beautiful, buttery layers.
Print
Flaky Pie Crust 5 Simple & Stunning Recipes
- Total Time: 40 minutes
- Yield: 2 pie crusts 1x
- Diet: Vegetarian
Description
This classic Flaky Pie Crust Recipe makes a tender, buttery crust perfect for sweet or savory pies simple and foolproof every time.
Ingredients
- 2 1/2 cups all-purpose flour
- 1 tsp salt
- 1 cup (2 sticks) unsalted butter, cold and cut into cubes
- 1/4 to 1/2 cup ice water
- 1 tbsp vinegar or lemon juice (optional, for tenderness)
Instructions
- 1. In a large bowl, whisk together flour and salt.
- 2. Cut in cold butter using a pastry cutter or your fingers until the mixture resembles coarse crumbs with pea-sized pieces of butter.
- 3. Sprinkle in ice water, 1 tablespoon at a time, mixing gently with a fork until dough just comes together.
- 4. Divide dough into two equal portions, shape into discs, and wrap in plastic wrap.
- 5. Chill for at least 1 hour before rolling out.
- 6. On a lightly floured surface, roll dough to fit your pie dish.
- 7. Transfer to the dish, trim edges, and crimp as desired.
- 8. For a baked crust, prick the bottom with a fork, line with parchment, fill with pie weights, and bake at 375°F (190°C) for 15 minutes. Remove weights and bake 10 more minutes until golden.
Notes
- Keep butter cold this is the key to flaky layers.
- If dough feels too dry, add a teaspoon of water at a time; if sticky, sprinkle with a bit more flour.
- Can be made ahead and refrigerated for 3 days or frozen up to 3 months.
- Prep Time: 15 minutes
- Cook Time: 25 minutes
- Category: Baking
- Method: Handmade
- Cuisine: American
Nutrition
- Serving Size: 1/8 of crust
- Calories: 230
- Sugar: 0g
- Sodium: 180mg
- Fat: 16g
- Saturated Fat: 10g
- Unsaturated Fat: 6g
- Trans Fat: 0g
- Carbohydrates: 19g
- Fiber: 1g
- Protein: 3g
- Cholesterol: 40mg
Keywords: flaky pie crust, homemade pie dough, butter pie crust
HOW TO MAKE FLAKY PIE CRUST
The goal: pockets of fat in the dough that melt into steam and lift layers. To do that, you must:
- Use cold fat so it stays solid until baking
- Handle the dough gently so you don’t overdevelop gluten
- Chill between steps to keep ingredients firm
- Use pie weights (in blind baking) to prevent bubbles
I will walk you through every step so you don’t worry.
INGREDIENTS
Ingredients for one double crust (or one 9-inch top + bottom):
- 2 ¼ cups (280 g) all-purpose flour
- 1 teaspoon fine salt
- 1 tablespoon granulated sugar (optional, for sweet pies)
- 1 cup (226 g) unsalted butter, very cold, cut into ½-inch cubes
- 6 to 8 tablespoons ice cold water
- Optional: 1 teaspoon apple cider vinegar (helps inhibit excess gluten)
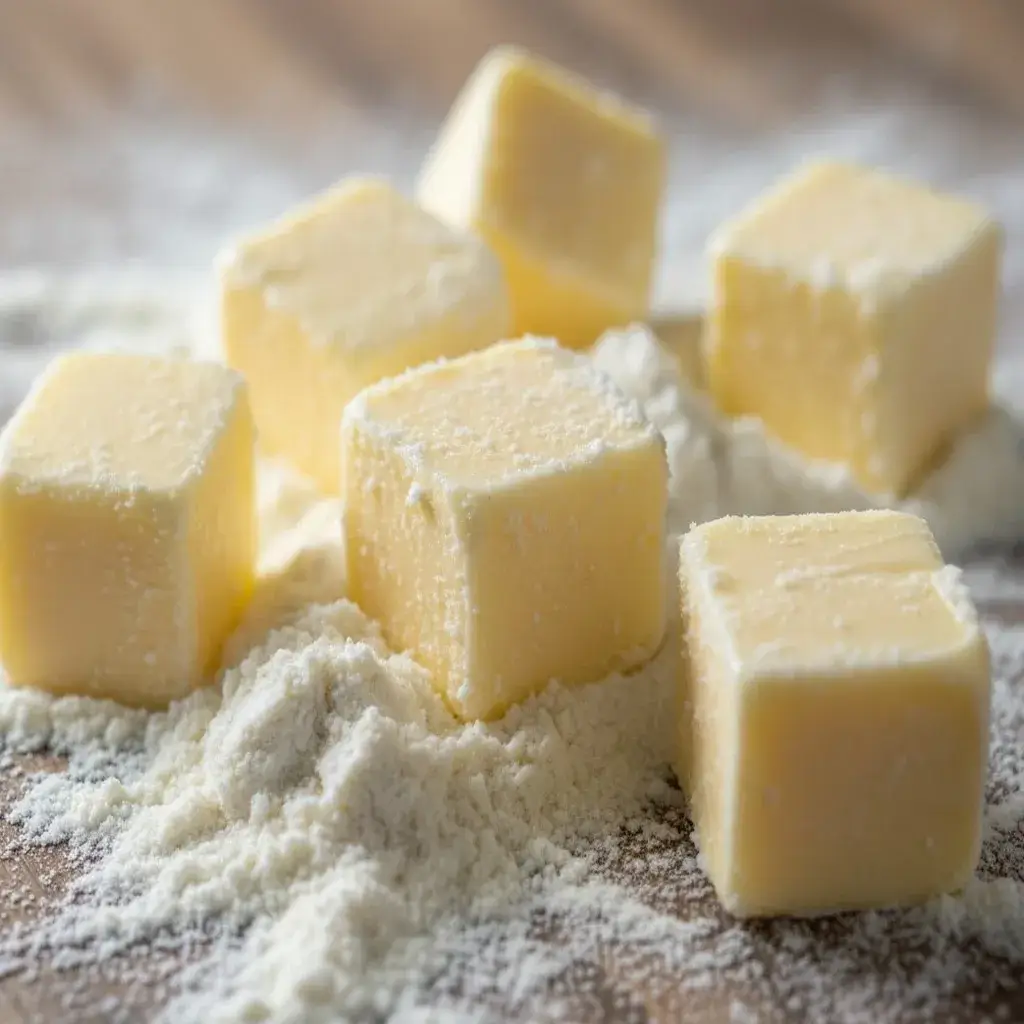
Ingredient notes:
- Use high quality butter for flavor.
- Keep butter in freezer until use.
- If your flour is warm, chill with butter briefly.
- Add water slowly; you may not need all.
- Vinegar or acid is optional but recommended by some bakers to slow gluten formation Allrecipes
DIRECTIONS
1. Combine Dry Ingredients: In a large bowl, whisk together the flour, salt, and sugar (if using).
2. Incorporate Butter: Add the cold, cubed butter to the flour mixture and toss to coat. Let it sit for a minute to ensure the butter is firm. Using a pastry cutter, two forks, or your fingertips, work the butter into the flour until the mixture is crumbly with visible pieces of butter ranging from pea-sized to larger flakes. Do not overmix; this is key for a flaky texture.
3. Add Liquid: Sprinkle 4 tablespoons of ice water and the vinegar (if using) over the mixture. Gently toss with a fork. Continue adding cold water, one tablespoon at a time, just until the dough begins to clump together and can be pressed into a ball. It should not be sticky or wet.
4. Form the Dough: Gather the dough into a ball. For a double crust, divide it into two portions. Flatten each portion into a 1-inch thick disk, wrap tightly in plastic wrap, and refrigerate for at least 30 minutes, or up to overnight.
5. Roll Out the Crust: On a lightly floured surface, roll one disk of dough from the center outward into a circle about 12 inches in diameter and ⅛ inch thick. Roll in different directions and turn the dough periodically to maintain an even shape and prevent sticking.
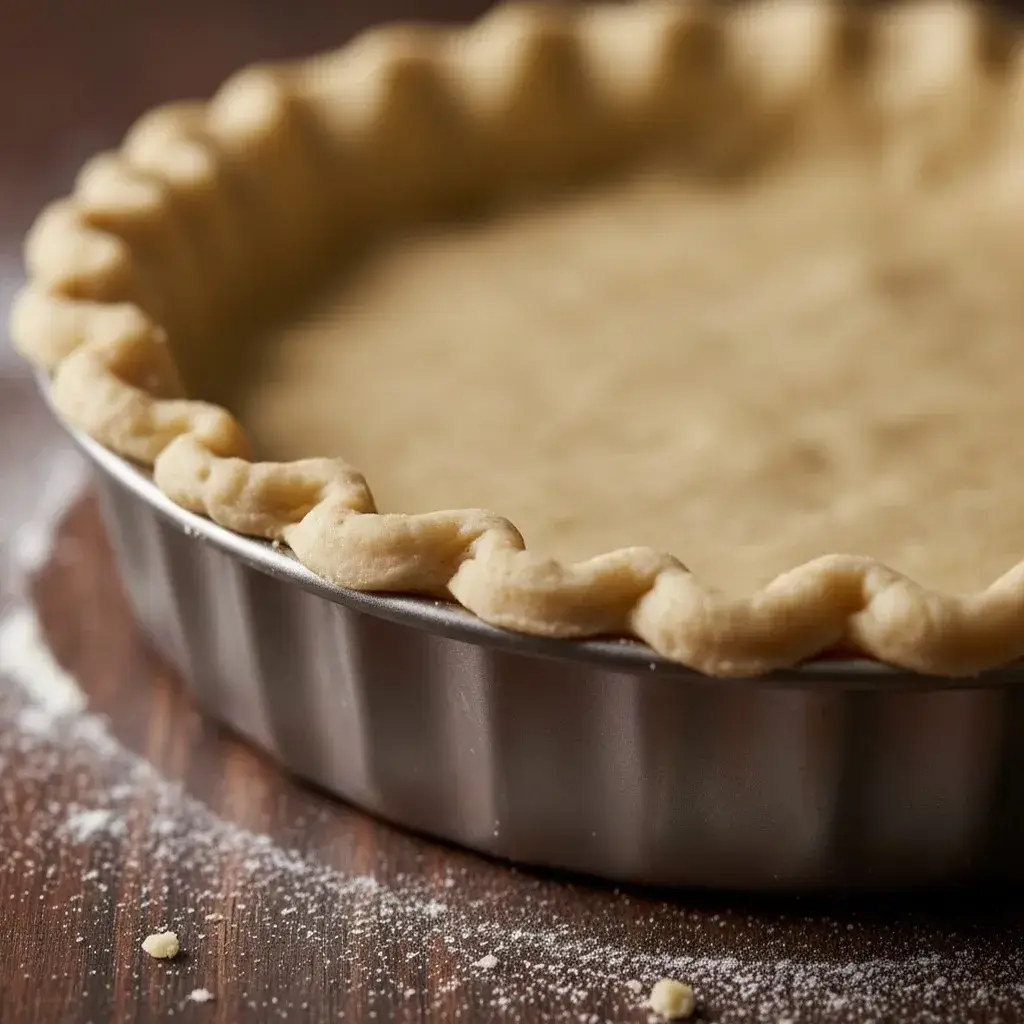
6. Transfer and Shape: Carefully transfer the rolled dough to your pie plate by rolling it loosely around your rolling pin and then unrolling it over the plate. Gently press the dough into the bottom and sides without stretching it. Trim any excess dough, leaving a slight overhang for crimping. Crimp the edges as desired.
7. For a Top Crust: Roll out the second disk of dough. Place it over the filled bottom crust, trim the excess, and crimp the edges together to seal. Cut a few slits in the top to allow steam to escape.
8. To Blind Bake (if required): Preheat your oven as directed. Chill the shaped crust in the freezer for 15 minutes. Then, line it with parchment paper or foil and fill with pie weights or dried beans. Bake until the edges are set and lightly golden. Carefully remove the weights and parchment, then return the crust to the oven to bake until the bottom is fully cooked and golden.
9. Bake and Cool: Fill the crust according to your pie recipe’s instructions and bake. Once finished, allow the pie to cool completely on a wire rack. This resting period is crucial for the crust to set and become sliceable.New chat
NUTRITION AND HEALTH CONSIDERATIONS
An estimate per slice (1/8 of a filled pie) depending on filling:
- Calories: ~ 200–300 (crust portion)
- Fat: ~ 12–18 g
- Carbohydrates: ~ 15–25 g
- Protein: ~ 2–4 g
Health notes:
- Rich in butter. You can reduce fat by mixing butter + shortening.
- Contains gluten. Not suitable for celiac or gluten sensitivity.
- You can experiment with whole wheat or gluten free blends, but texture changes.
- Using less sugar in crust keeps it less sweet for savory pies.
HOW TO SERVE FLAKY PIE CRUST
- Use this flaky pie crust in fruit pies (apple, berry), custard pies (pumpkin, lemon), and savory pies (quiche, pot pie).
- Bake until crust is golden and edges crisp. For wet fillings, a partially baked (blind baked) shell helps avoid soggy bottoms.
- Brush edges with an egg wash for a glossy finish.
HOW TO STORE FLAKY PIE CRUST
- Wrap leftover crust or dough tightly in plastic wrap.
- Refrigerate for up to 2 days. Freeze disks for up to 1 month.
- Thaw in refrigerator before rolling.
- You can also bake the crust then wrap baked slices; store in airtight container for a few days.
- Recrisp by reheating in oven at 350°F for 5-10 minutes.
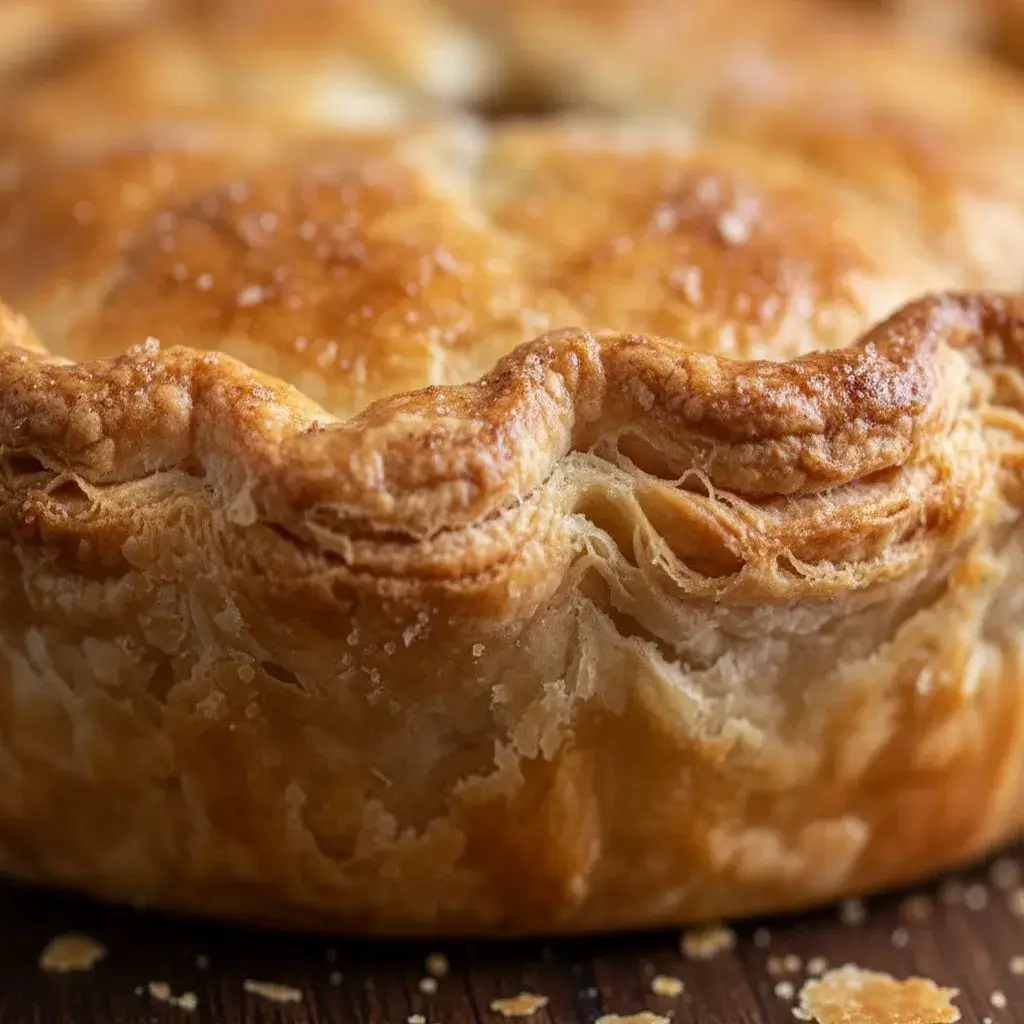
TIPS TO MAKE FLAKY PIE CRUST
- Use very cold butter and cold water. Warm fat ruins layers.
- Keep chunks of butter visible in dough. Big chunks yield bigger flakes
- Add liquid slowly, only enough to bind dough.
- Don’t overmix or knead. Let dough rest.
- Chill dough well before rolling and after shaping.
- Use a light touch when rolling, turning dough often.
- If the top crust browns too fast, shield the edges with foil.
- Weight crust when blind baking to avoid bubbles.
TIPS AND NOTES: YOUR KITCHEN COMPANION
Details:
- A 9-inch pie plate is standard; deeper pans need more dough.
- Aim for even thickness (~⅛ inch) to avoid burning thin spots.
- If dough cracks while rolling, patch with small cold bits.
- The ideal dough temperature for working is ~68-72°F (20-22°C) Serious Eats
- In humid climates, use less water. In dry climates, you may need slightly more.
- Always preheat the oven fully before baking pie.
- Use a metal pie pan for better heat conduction and crisp bottom (per Bon Appétit recommendation)
VARIATION
- All butter crust for richest flavor.
- Butter + shortening mix for more forgiving dough.
- Add lard or leaf lard for extra flake (traditional).
- Flavor the crust: add herbs (thyme, rosemary) for savory pies; add cocoa, cinnamon, or citrus zest for sweet pies.
- Use part whole wheat or spelt, but expect a denser texture.
- Try adding a bit of cream cheese (as some bakers do) to tenderize crust (though texture changes)
NOTES
- Every oven, flour, and kitchen is different. Adjust.
- Dough can stiffen in cold, so temper slightly before rolling if cracked.
- A good roll and rest process saves hairline cracks.
- Use weights when needed.
- Don’t rush: chilling, handling gently, and baking with care make the difference.
FLAKY PIE CRUST FAQS
Can I make flaky pie crust ahead of time?
Yes. You can refrigerate dough disks for 1–2 days, or freeze up to a month. Thaw in fridge before rolling.
Can I use oil instead of butter?
You can, but you lose the layered structure. The crust becomes more crumbly. Butter is best for flaky layers
Why does my filled pie bottom go soggy?
Filling may be too wet or not precooked. Use a partially baked shell (blind bake) or drain filling before adding.
CONCLUSION
Flaky Pie Crust is worth the few extra steps. It rewards you with crisp edges, buttery layers, and texture that holds up. Use the tips and techniques above to make your best crust yet. Try it with your favorite filling. Share your results and experiments.

